A Thermal Imaging Night Vision Scope That Suits Your Needs
After carefully selecting and buying a thermal imaging night vision scope that suits your taste, the first thing to do is to calibrate the crosshairs to zero. So some novices are confused. How to operate this crosshair zero calibration? Don't worry, today the editor will bring you a detailed tutorial!
01. What is crosshair zero calibration?
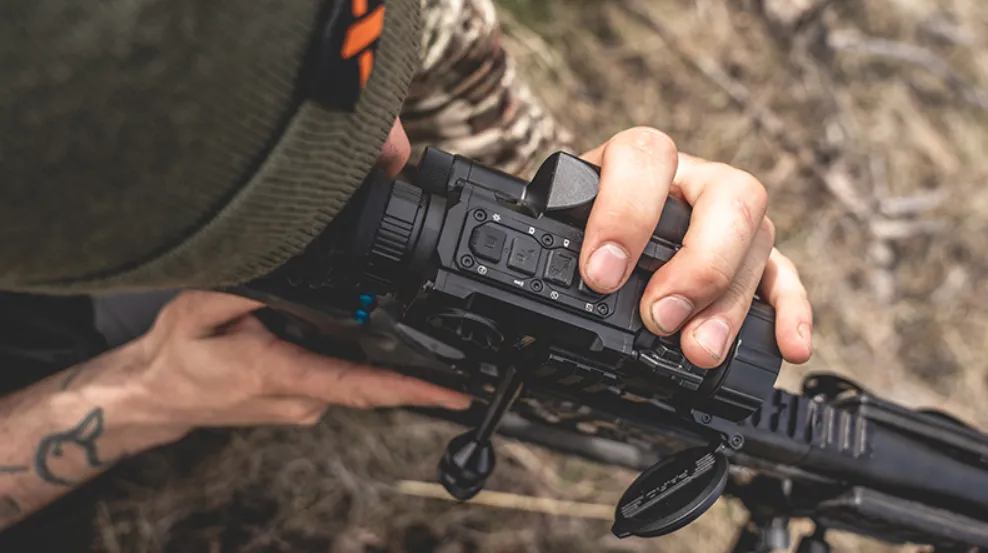
Crosshair zero calibration refers to aligning the center point of the splitting line of the scope with the impact point at a commonly used shooting distance, so that the position aimed at by the center point at this specific distance is the actual impact point.
02. Why do you need to do crosshair zero calibration?
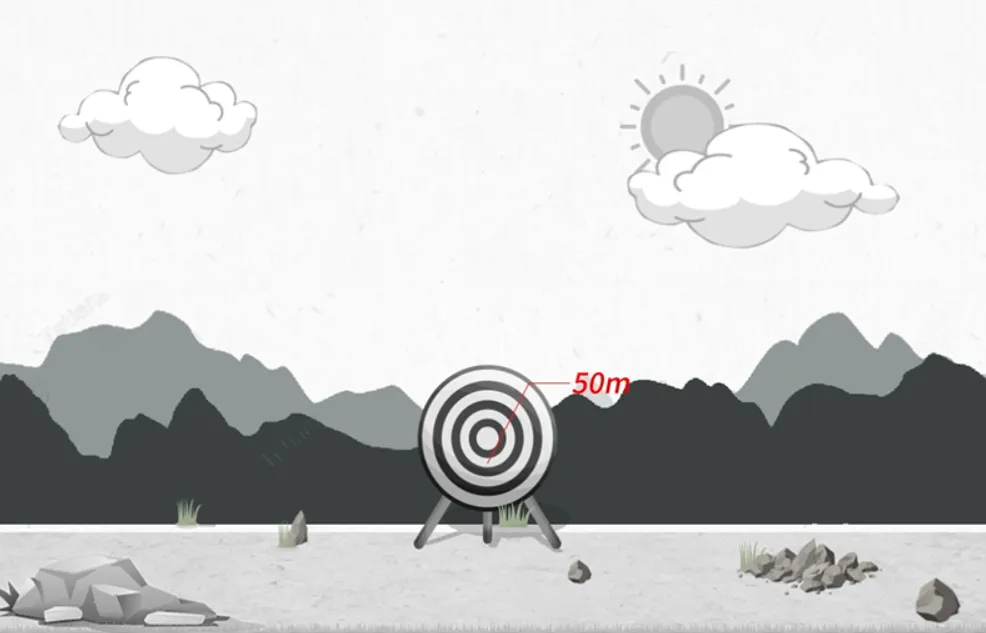
Usually, after getting a new thermal imaging night vision scope, you need to perform crosshair zero calibration in order to make shooting more accurate. We determine a commonly used target distance, such as 50 meters. After the crosshair zero calibration, excluding the influence of external natural factors, shooting at the target at this distance can basically achieve where you point and hit. For targets outside the zero distance, you need to use the digit point in the thermal imaging night vision scope as the basis for aiming.
03. How to operate the crosshair zero calibration?
1. Select the zeroing distance
Before doing the crosshair zeroing calibration, you must first determine a zeroing distance. Are you familiar with the zeroing distance? Yes, it was mentioned in the previous article "Thermal Imaging + Intelligent Ballistic Calculation, Novice Outline Sharpshooter". If you don't know it yet, you can read this article. It should be noted here that when selecting a target at a certain distance, the target must be able to clearly see the impact point in the scope.
2. Shoot once
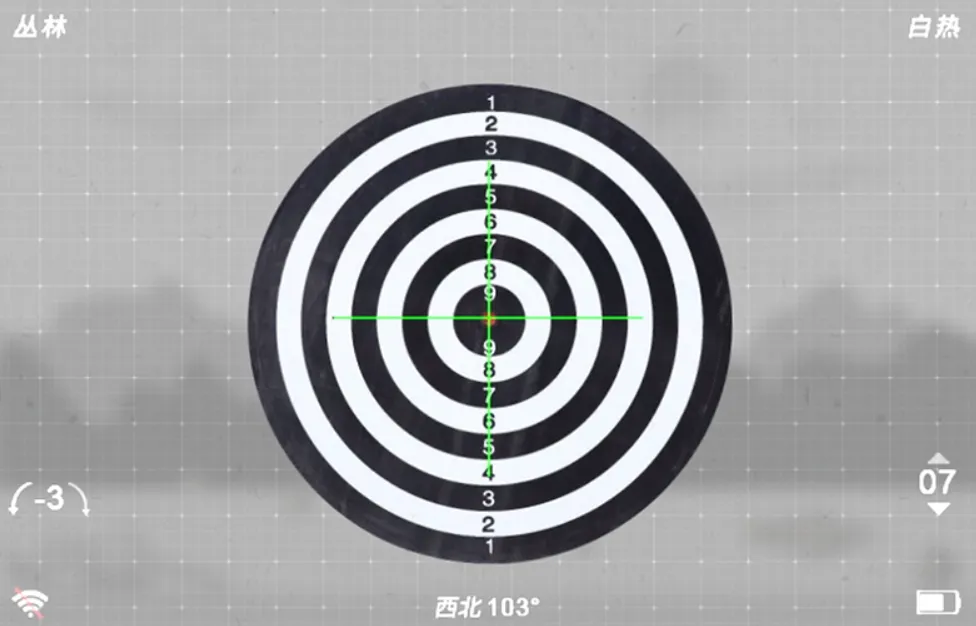
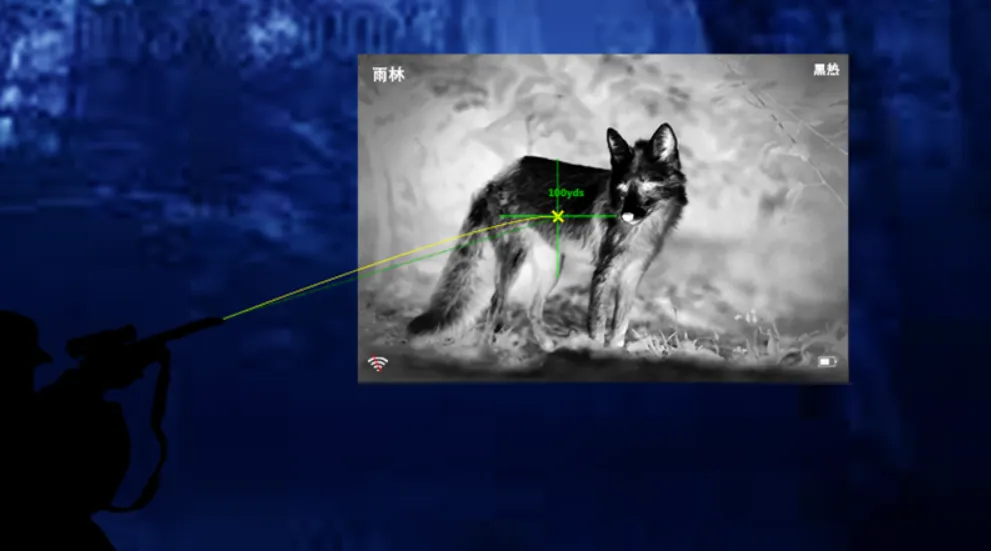
After presetting the target distance, choose a stable shooting position and rotate the objective lens focus wheel of the Onick thermal imaging night vision scope to ensure that the target is clear. Open the scope menu, find the crosshair zeroing calibration bar, click to enter the sub-page, aim at the center point of the target, and shoot a shot after aiming.
3. Crosshair zeroing calibration operation
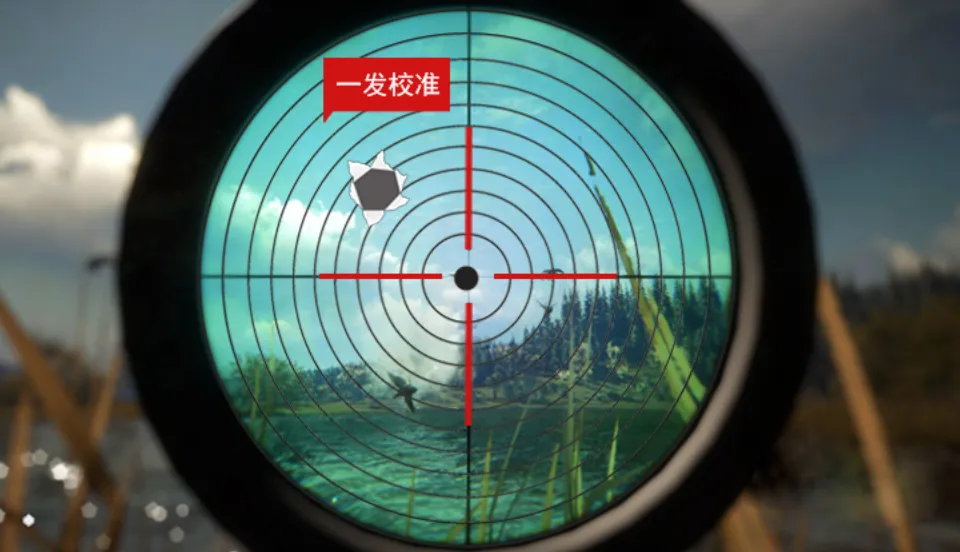
After shooting, continue to keep the scope stable, click the [ok key] in the crosshair zeroing calibration screen, move to the X-axis or Y-axis, and then click the [+ key] or [- key], and the screen will automatically freeze.
Continue to adjust the position of the X-axis and Y-axis by using the [+] or [-] key. Note that the [+] key is the positive pole of the coordinate axis and the [-] key is the negative pole of the coordinate axis. Move the center of the scope to the impact point just shot, and overlap it.
You can also choose the style and color of the crosshairs according to your personal preferences or the environment in which the scope is used. There are 6 styles and 4 colors to choose from. Remember to click Save after confirming.
04. Frequently Asked Questions
Q1: How to choose the zeroing distance?
The choice of zeroing distance depends on different environments, different targets, different equipment, and the user's skill level. Whether participating in hunting activities or shooting practice, there will be a commonly used distance, which can be set as the zeroing distance.
Q2: How many times is it appropriate to zero?
Onick's thermal imaging night vision device can store five sets of crosshair zeroing calibration data at different distances. I personally recommend saving two sets of zeroing data, and choose the close and long distances that are more commonly used.
Q3: How to adjust the crosshairs to be up or down?
You can place shims at the lower part of the front and back of the thermal imaging night vision device to adjust the level of the scope. For example, when the scope is tilted upward, you can place shims at the back of the fixture, which is close to the eyepiece. When the scope is tilted downward, you can place shims at the front of the fixture, which is close to the objective lens.
If you have any questions after reading this, please tell me in the comment section!

